How to Create Print-Ready Artwork Files
Grace MiddletonThe thought of transforming your artwork from a physical to digital format can seem daunting, but with our how-to guide you can transform your artworks to print-ready digital files and begin making your passion pay!
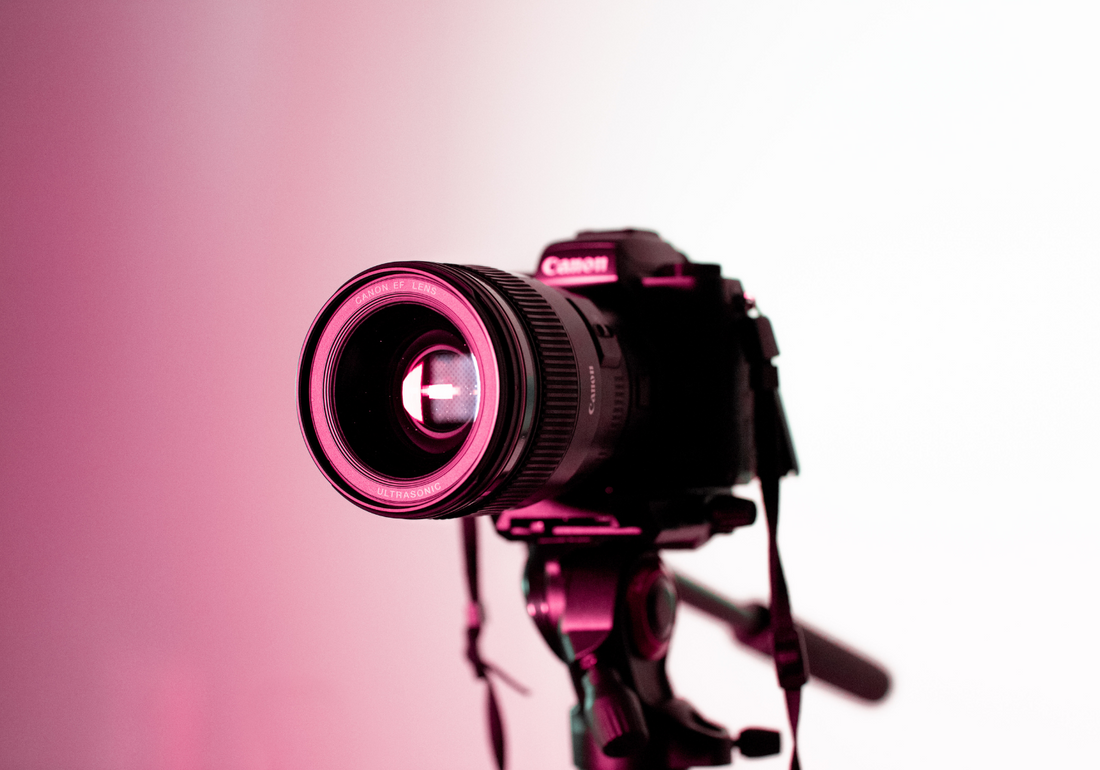
Photographing your Artworks
To ensure a clear image of your artwork, we recommend hanging your artwork on a wall and shooting from a downward angle. This will work best if the wall is a neutral colour and your camera is steady, either placed on a sturdy base or tripod. Alternatively, you can photograph your artwork on a flat surface like a table, or hard floor with the camera held above it at exactly at a 90-degree angle to the ground but make sure you don't cast any shadows onto the artwork.

Choose a room with plenty of windows and natural light. Using natural light is great way to photograph your work as long as it is indirect, however if you are unable to shoot in natural light, you will need to set up a lighting kit. For this you can use a minimum of two lights, placed halfway between the canvas at a 45 degree angle pointing towards the wall, which will help to eliminate any shadows.

Once you are ready to photograph the artwork, double check that the camera is set to the lens lines up with the middle of the painting. You will need to position your camera so that the frame is filled with most of the painting, plus a bit of the background which you can crop out later.
Tip: We recommend setting your digital camera settings to ISO 100 as this will ensure a cleaner image. To achieve sharpness, set your aperture between F8 and F11.
Once you have your images there are plenty of photo editing softwares that you can use to help minimise any inconsistencies, such as Photoshop, Photoshop Elements, Photopea, Gimp or Lightroom.
Scanning your Artworks
Scanning your artworks can be done through a professional or at home. If you are looking to scan your artworks at home, we recommend buying a scanner that can scan at least 300 dpi to ensure clarity. CCD scanners are better suited to scanning textured artwork. If your artwork is larger than your scanner, you can learn how to digitally stick your artworks using editing software.

You can also try using smartphone apps like Scannable or Adobe Scan for smaller-scale artworks.
Our File Specifications
We accept JPEG, PNG & TIFF file types. Images must be at least 300 dpi (dots per inch) in order to print clearly. We require high resolution files as this affects the clarity of the image, which is important when printing large scale prints. We accept RGB files and print using RGB inks. Please convert CMYK files to RGB mode before sending them across as RGB has a much wider colour range than CMYK.
If you have any questions, or need support with your digital artwork files, please get in touch and we will be happy to help.
